Dave Coster looks at how effective wagglers can be, experimenting with different ways of setting these floats up, striving to find the best formats.
Venue Buster
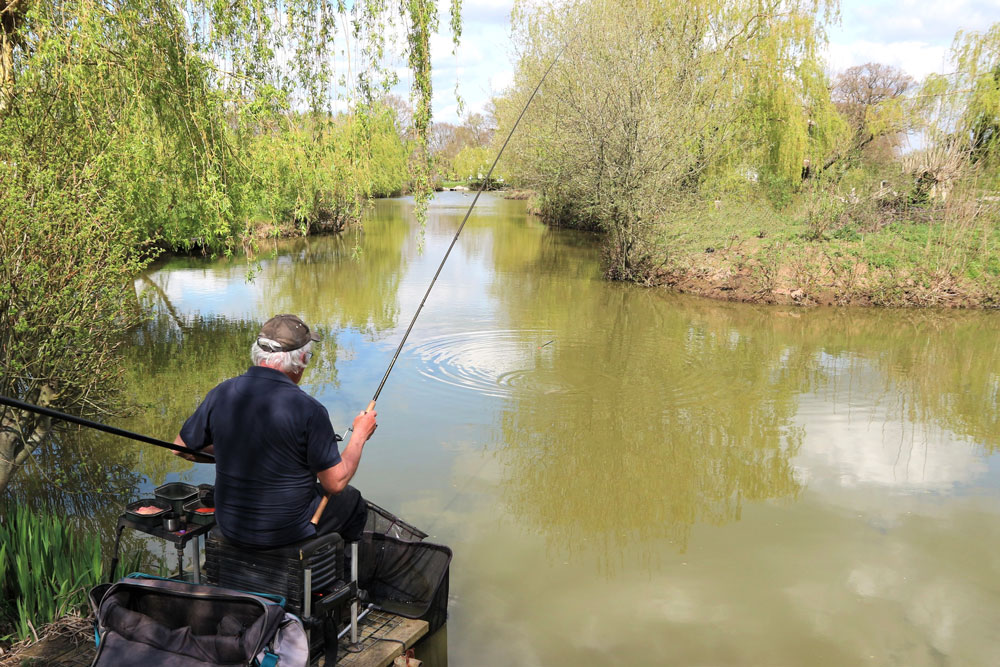
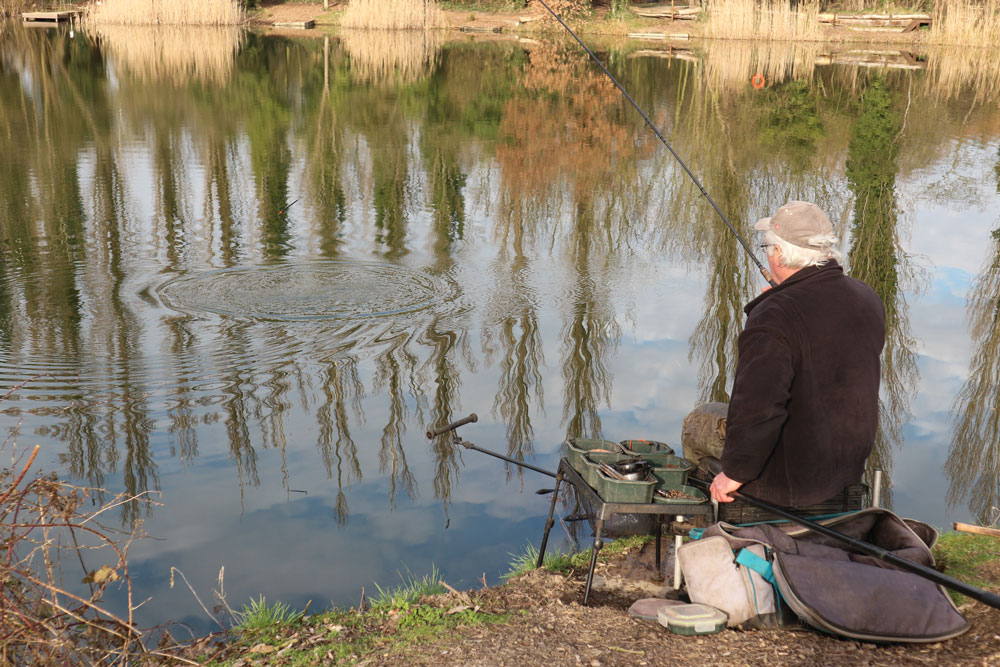
An experience that changed my approach to waggler floats occurred on a club coach outing many years ago. Back then, you had to draw a number before walking off in sequence. People who got single digits moved fastest, rushing to grab the best pegs. I was one of the last to get away, so was in less of a hurry. Eventually, I sat my gear down next to a local angler, in an area that didn’t look anything special. I spent the rest of the day watching in awe as my neighbour expertly cast a waggler to the far side, catching an endless stream of chub. He was exceptionally good, making everything look so effortless and smooth running. It didn’t seem like swim choice mattered that much; it appeared to be more about the method and being supremely confident with it. Ever since that day, whenever the far bank has been within waggler range, I have tried to fish the same positive way.
Reel Choice
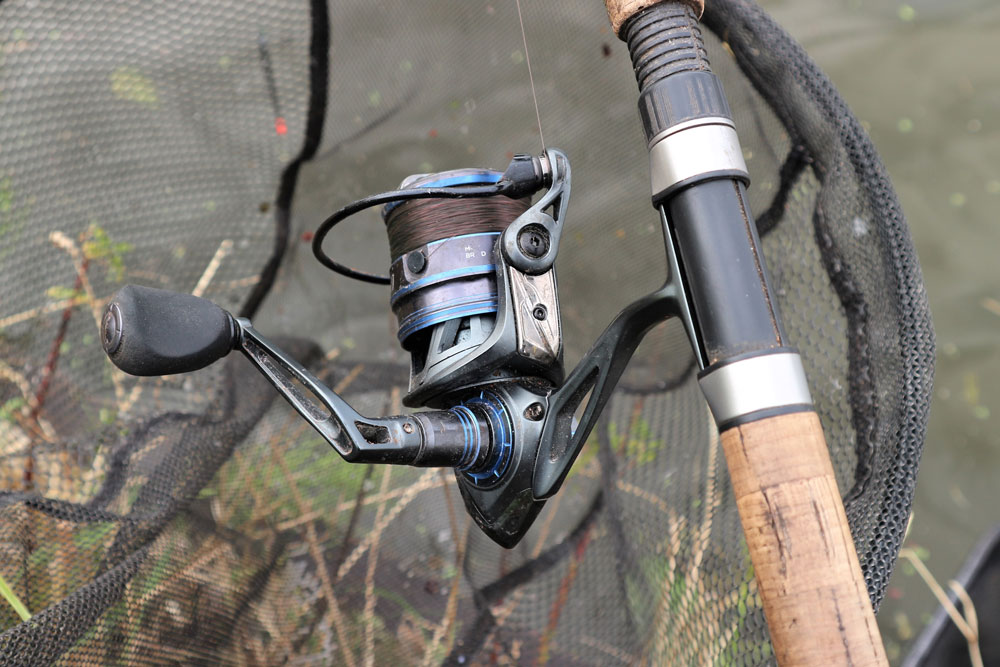
My early waggler fishing years relied on classic Mitchell Match reels, which had an automatic bail arm. The trigger mechanism worked particularly well when concentrating on slotting float tackle tight to far side cover. Then came the first Ryobi Mastermatch, which also had an automatic dab style bail. When spare parts dried up for that, I moved onto various Daiwa reels, particularly liking the superbly compact front drag TDRs. Then Cadence happened. I was out on the bank with James Robbins one day, admiring all the new gear he was using. The CS10 3000 front drag reel immediately caught my attention and I ordered two of them. That was several years ago, and I have used this design for my waggler fishing ever since. It’s robust enough to crank big fish in, casts extremely smoothly, and the easy reach spool makes line control with your rod hand fingers a doddle.
Loading Up
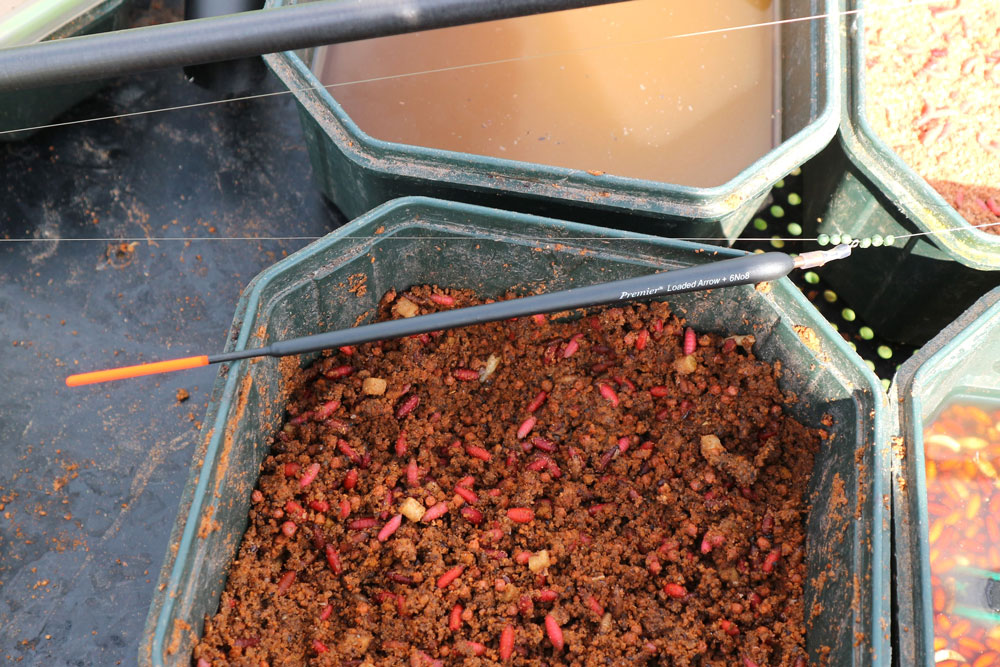
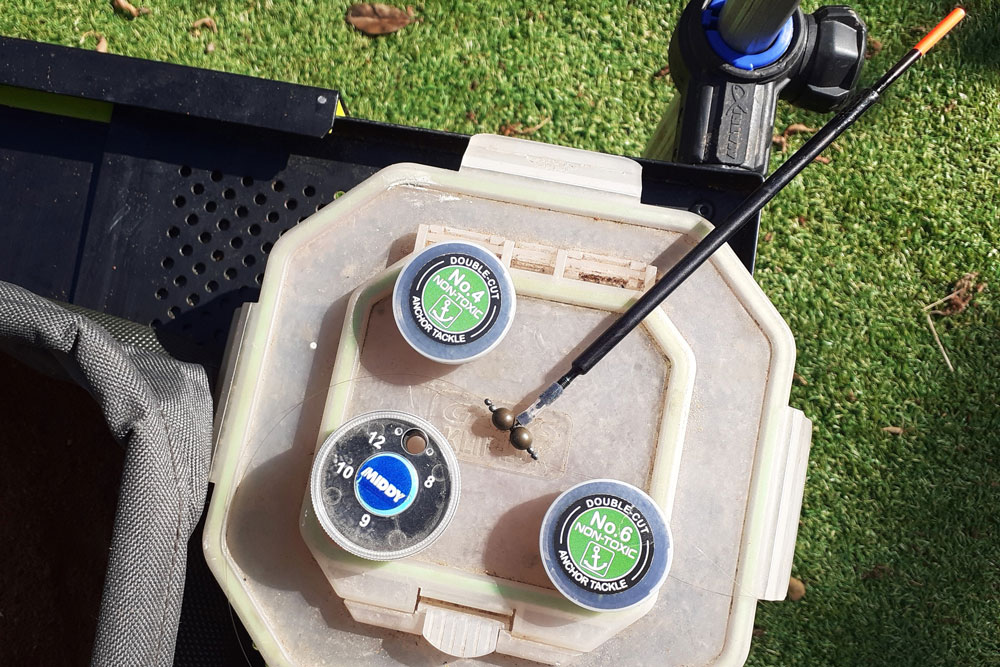
I fix most of my wagglers on the main line with big locking shot, using Anchor Green Double Cut, finding it hangs more centrally than most makes. The coating provides a cushioning and grip effect, meaning bigger shot don’t slip out of place too easily, even when used many times. I also like the intermediate AB and SA sizes, which, along with traditional SSG, AAA, BB, and number 1 gauges, help to keep everything tidy. By that, I mean a good balance of equal weight around the waggler, aiming to have at least two shot on either side of a swivel float adaptor. Paired shot are less inclined to slip. It doesn’t matter if they are the same size, but if you need to use a mix to cock the float properly, smaller ones go outside. I see many people getting in a mess with this type of float, but that won’t happen if most of the weight capacity is used up around the base to achieve a smooth cast.
Best Line
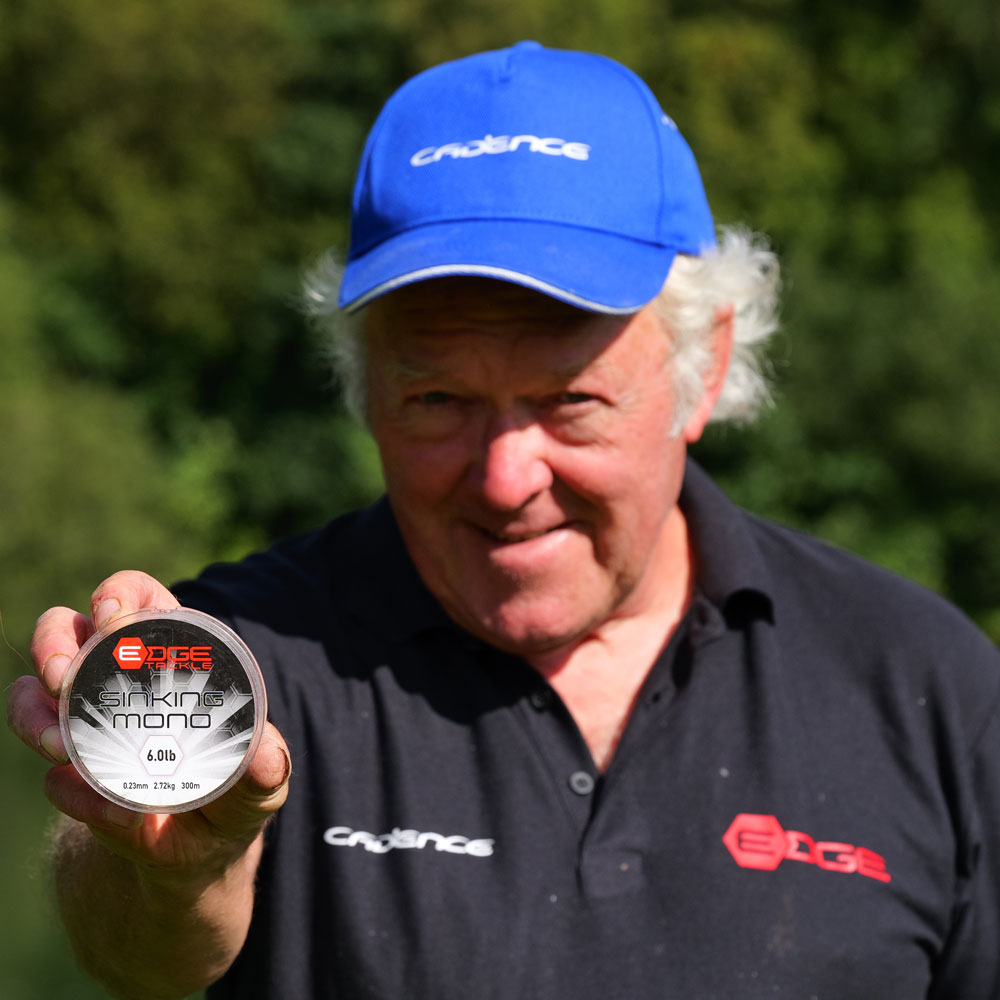
When I worked in tackle shops, it always annoyed me that most line suppliers didn’t say what their products could do. Many were preoccupied with providing false information about diameters and breaking strains, while others refused to pigeonhole their products, hoping for bigger sales. There was a large void if you weren’t in the know, trying to find spools of line to suit different tasks. Things have now changed, with go-ahead companies like Edge Tackle labelling their line types with accurate specifications, telling you what they are aimed at. I require a sinking main line for my waggler fishing, so I can cut it under the surface to keep the float from drifting out of place. Edge Sinking Mono does exactly that, also telling you its real diameter and strength. Anything thicker and stronger than it should be, casts less far and causes an imbalance. Quite simply, it doesn’t perform right.
Weighted Floats
Weighted wagglers can be prevented from diving by feathering them down. It’s tricky to do this when casting tight to the far bank because braking the flow of the main line pushes the hook and dropper shot ahead of the float, risking getting snagged up. When fishing tight to features, I’m constantly looking for those perfect casts, where the float almost brushes against what you are aiming at. To achieve that, the rig needs to land naturally, with the hook bait following behind. Without feathering, a loaded waggler will duck under the surface, which can cause missed bites as the tackle settles. This loaded waggler worked great in open water when softly feathered down on the cast, not diving at all. But I struggled to slot it tight up against a far side weed bed, where the fish eventually retreated. On the plus side, using small non-toxic shot as lockers, there was no slippage during a busy session.
Casting Shadows
The reason I place so much importance on casting wagglers tight to features, or even against bare far banks, is simple: it catches more and bigger fish. Slotting a float right next to overhanging foliage, without it diving, often results in getting attached to something decent. Quality fish live undercover and rarely leave it, especially if it’s bright and venues like canals, rivers and drains are busy. The reason I don’t use loaded floats in this instance, is if they dive you risk missing bites as the tackle settles, which is a common occurrence. An unloaded float won’t dive like a loaded version, even if you don’t feather it down because its big locking shot create a natural braking effect. This comes in useful when fishing tight to featureless far banks too, because if you can present your hook bait hard on the shelf over there, the fish are less likely to see your line. This attracts lots more bites.
Waggler Shot
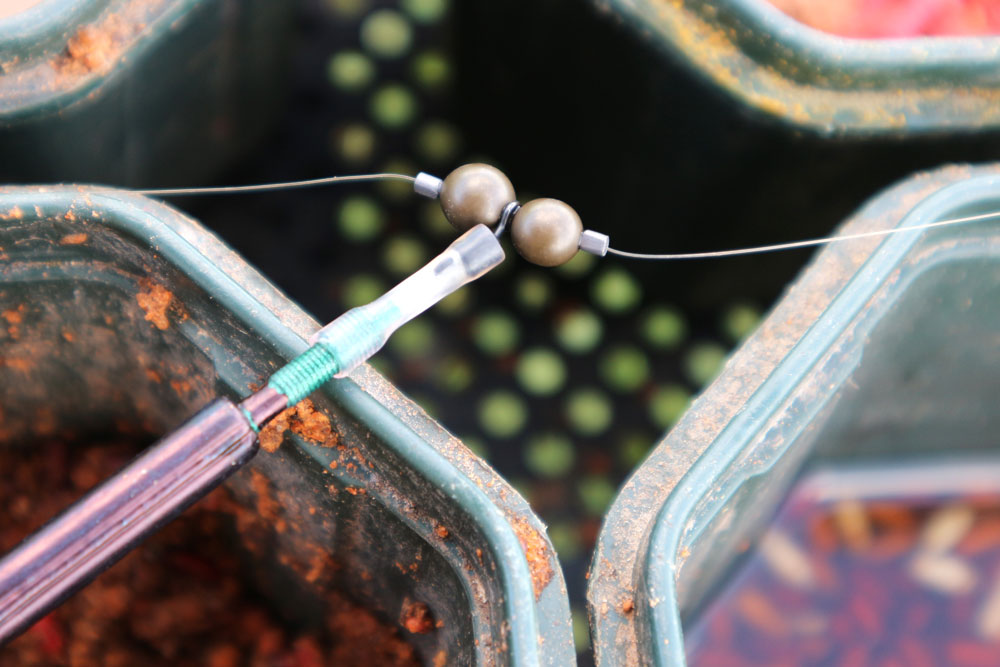
It’s getting harder to find the split shot I like using. So, when I spotted these special drilled waggler weights, I was immediately interested. They are aimed to echo split shot sizes, although I found them a bit heavier than I’m used to, size for size. Being free running, you need to lock them in place with something, plus there is less need to have them in pairs around the float. On my first attempt using these reusable weights, I found it tricky threading them onto my main line, due to the extremely small-bore silicone tubing inside. I eventually pulled this out with a barbed baiting needle, and then they threaded on far more easily. The packaging suggested using line stops to anchor these weights, but I didn’t have any handy at the time, using small Stotz shot instead. This set up looked fine and cast like a dream, but once busy catching lots of fish and casting frequently, the float kept slipping.
Line Stops
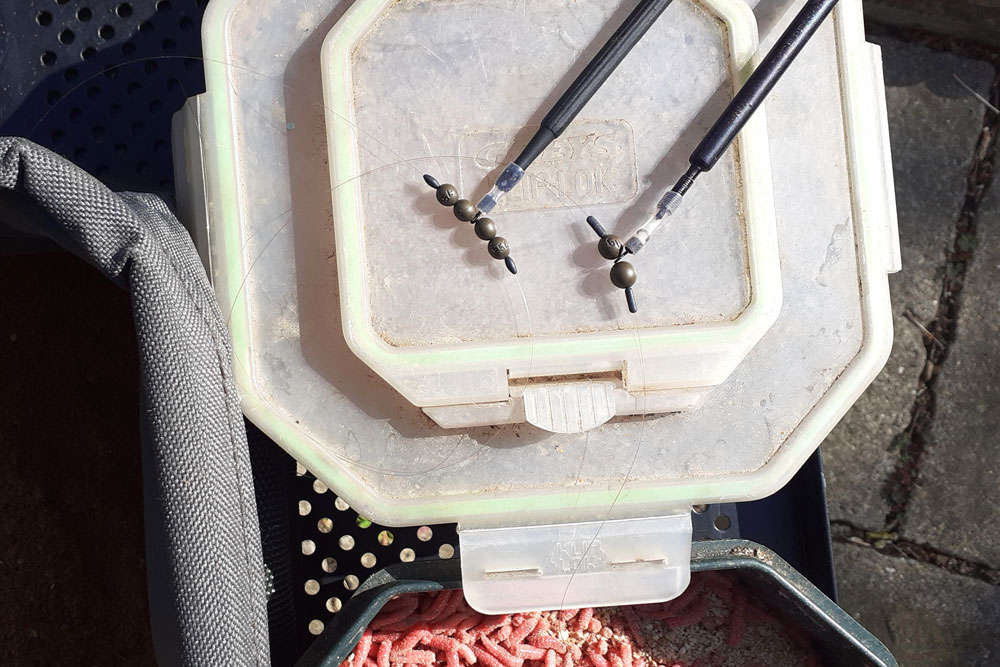
Next time I used thread-on waggler weights, I made sure I had some line stops with me, trying the newer types that grip better. By having just one of these on either side to trap the shot and float, the set-up worked fine. I previously discovered if you use normal rubber line stops, you need two or three to prevent slippage, which gets a bit fussy. Another thing I found was going back to having pairs of medium-sized weights, worked differently than single larger sizes either side of a float adaptor. By spreading the float’s main loading, it enhanced the natural braking effect as it landed. The single bigger shot made wagglers want to dive more, if line flow wasn’t braked as they landed. I liked the simplicity of using drilled waggler weights, but the main downside is it takes a lot of fiddling around to find the right balance. You can quickly get through a lot of line stops using them.
Keeping Versatile
I quite like the simplicity of using single larger weights around the base of wagglers, anchored with line stops or small split shot, or switching to loaded designs. But I only tend to take routes like this when fishing open water, where feathering the rig down doesn’t matter, possibly slightly improving the way the hook bait falls through the water. For much of my waggler fishing, I use most of the float’s weight capacity around its base, which gains maximum casting distance. Even in deep water, I often end up fishing shallow anyway, once regular loose feed has pulled fish up off the bottom. With full depth rigs, having light shotting spread below the float, provides chances of catching both on the drop and after the hook bait has settled. The main thing with the waggler is to keep adjusting the depth to find how the fish respond best to where and how your hook bait is presented.
Learning Curve
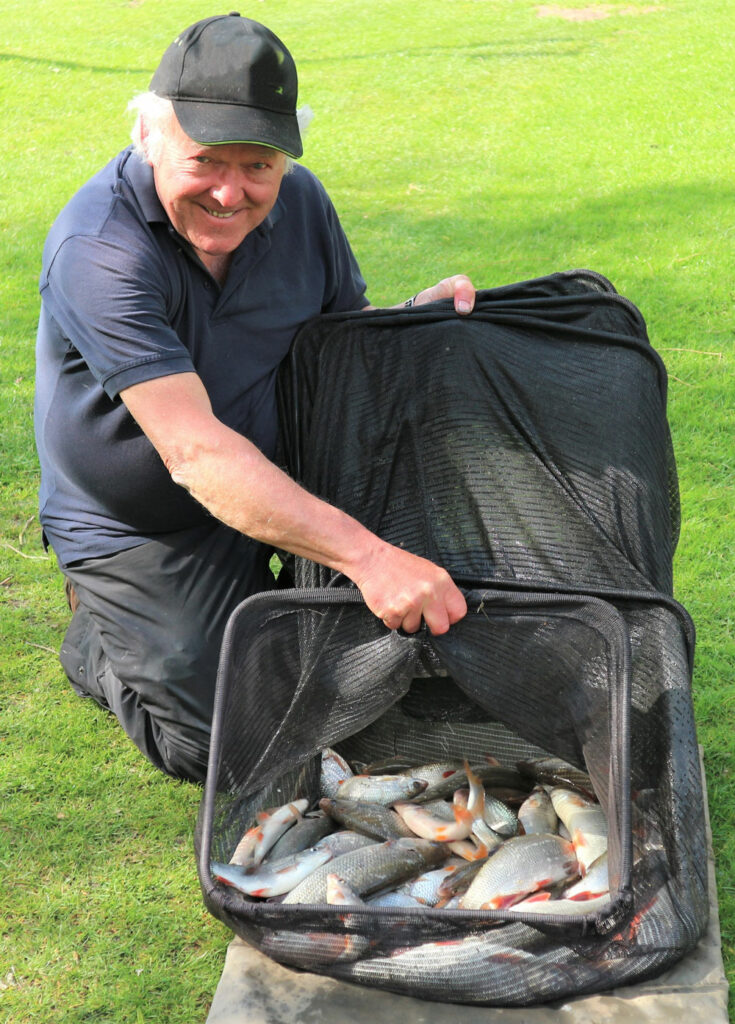
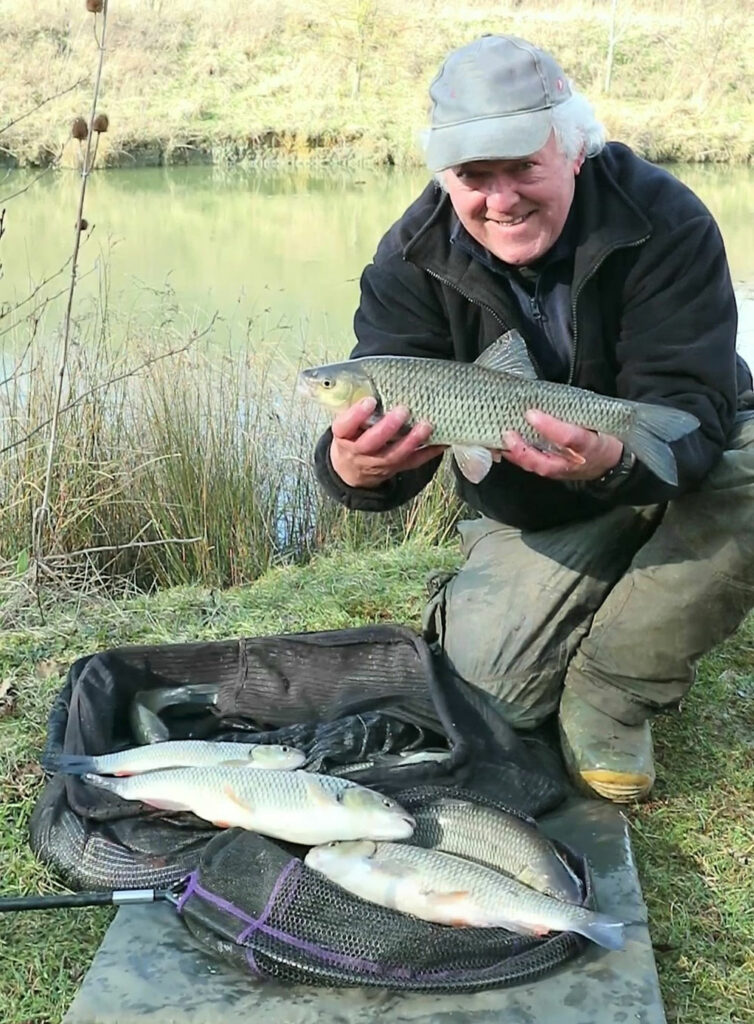
My early lesson in waggler fishing on that fateful club outing all those years ago has stayed with me, still working its magic several decades later. This catch of stillwater chub came about by slotting an unloaded insert peacock waggler right against the grassy far bank, where there was a steep, almost cliff-like shelf. It was a bright winter’s day and nothing much was happening, until I started exploring tighter over to the far side. The closer I put my hook, the more interest I got, using a single caster on a size 18. If my rig dropped short nothing resulted, but when I managed to cast my float inch perfectly, the chub were almost queueing up. I had my tackle set 3 feet deep, but generally perfect casts were rewarded with almost instant takes. I even caught a couple of fish after my hook bait hung up on blades of grass, twitching it loose, where it was instantly grabbed as it hit the water.
More Options
I’m still playing with drilled waggler weights, getting to like the concept even more, I’ve switched to using small shot to lock them in place. A couple of lead number 8s either side works quite well, while number 4 or 6 non-toxic versions are also effective. The latter are a bit harder, gripping line even better, so you can sometimes get away using them as single stoppers. It works out cheaper relying on small shot to anchor medium and big waggler weights because packs of quality non-slip TPR float stops are costly. You can get through a fair number while trying to load up floats in a well-balanced manner, allowing for a few small dropper shot to be positioned down the rig. I also use a micro swivel to join the main line to the hook length, which stops the latter from spinning up when retrieving the tackle. The weight of this also needs to be carefully accounted for.
Still Working
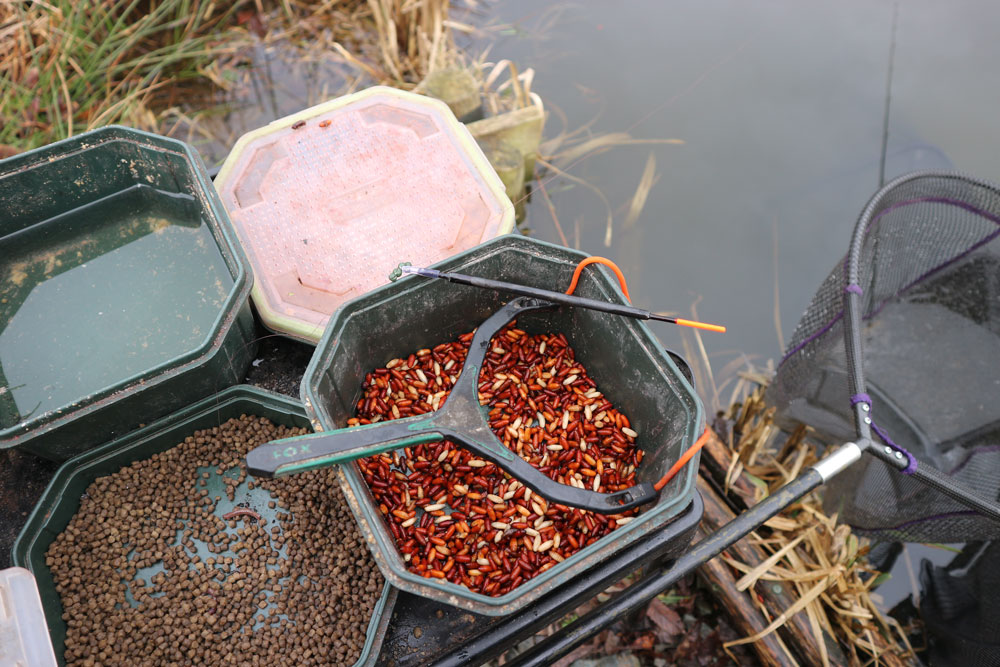
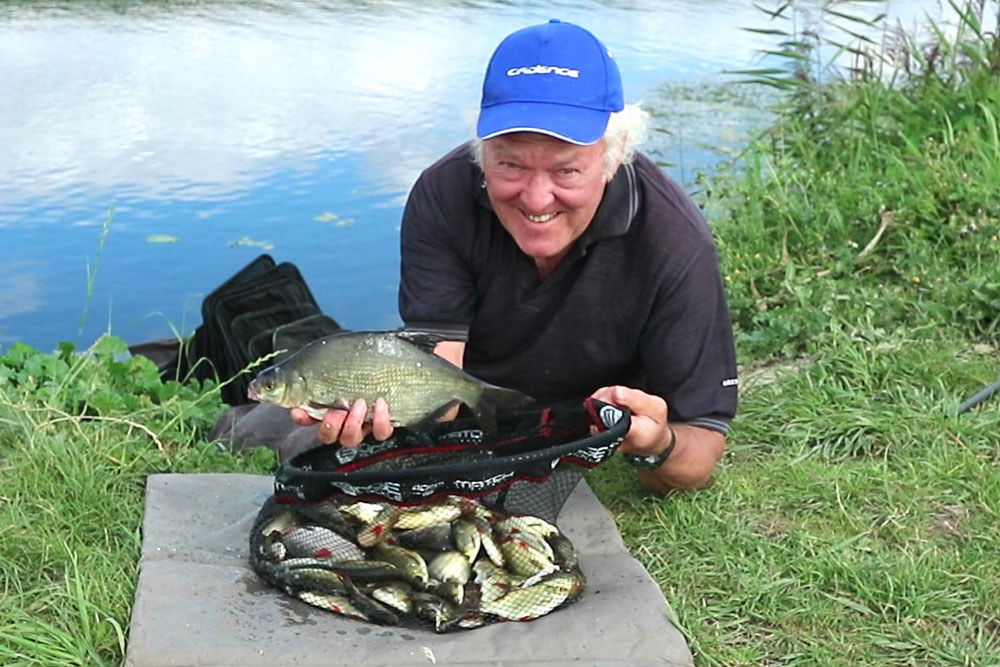
My latest trip, on a sunny day on a clear water fenland drain, saw whip and long pole tactics struggling for bites. All the fish seemed to be up in the water, with most activity on the far side. There was a big bank of surface weed over there and this provided good cover. I quickly set up a waggler and started getting bites straight away. These were from small rudd to begin with, but as I gradually built the swim up with loose fed casters, the fish got bigger and hand-sized skimmers turned up. It was never going to be easy in the almost windless conditions. There was a club match taking place close by and a bankside walker told me that was a tough struggle. But by this time I was getting a bite a chuck, casting tight over to the far side belt of weed. I kept experimenting with my waggler set-ups, switching between old and new methods, continually looking for that vital extra edge.

Thanks for a very informative article. I have experimented with homemade waggler weights – put a pin in the slot of a non-toxic shot, then squeeze closed with pliers to create a central hole you can thread your line through – but the drawback of having to dismantle your rig to change to a float taking more or less shot remains. I have also experimented with loaded wagglers, but as well as the problem of the float diving too deep I have found they don’t cast as true or as far as unloaded ones. I keep going back to simple locking shot, and will certainly have a look at the green-coated Anchor ones, which I have never tried. The lead shot ban was a big blow to waggler fishing. Best wishes, Pat Newman.